
The first time you see it you almost think you imagined it. A pale raw line cuts across the warm wood floor you have loved for years. It might have come from a chair leg pushed too hard or from your dog’s nails scratching the surface during playful runs around the room. Maybe it happened when you dragged a plant stand instead of lifting it properly. The house feels quiet but the scratch seems loud like someone shouting in your living room. When you run your fingers over it the rough edge catches your skin just enough to remind you that this beautiful floor is not indestructible. This soft golden surface made of planks & knots & years of memories can be damaged. Now you wonder if you have ruined it completely. You start thinking this might be one of those problems that needs a professional to fix. You imagine a weekend filled with sanding dust and a repair bill you would rather avoid.
The Hidden Language of Floor Scratches: What Your Eyes Are Really Noticing
Before you do anything else, you lean in closer. There’s a faint scent of old polish mixed with last weekend’s cleaning soap. You shift your head slightly, letting the light fall at a different angle. That’s when the truth becomes clear: every scratch on a wooden floor tells a different story.

Some marks are barely there—soft, pale lines that look dramatic but sit only in the finish. They haven’t harmed the wood beneath. Others are heavier, darker grooves that sink into the grain itself. Those deeper scratches usually come from furniture dragged instead of lifted, or grit trapped under weight, slowly grinding its way down.

Run your fingernail gently across the mark. If it barely catches, it’s a surface scratch. If it hooks and resists, the damage goes deeper. Learning this difference is like learning how your floor speaks. Once you understand it, the repair process feels far less intimidating—and surprisingly manageable at home.
Light Surface Scratches: Small Marks That Need Gentle Attention
Fine scratches don’t require power tools or major effort. They respond best to subtle care—cleaning, warmth, and restored color rather than force.
Start by cleaning the area. Dust and grit exaggerate scratches, making them appear worse than they are. Use a soft cloth with a mild, wood-safe cleaner. As the surface darkens slightly with moisture, the scratch often fades. That brief disappearance shows you how good the result can be.
Next comes restoring color. A wood repair marker, blending pencil, or even a matching wax crayon works well. Draw lightly along the scratch, following the direction of the grain. Wipe away the excess with a soft cloth. The scratch won’t completely vanish, but it will soften and blend, becoming part of the floor rather than a distraction.
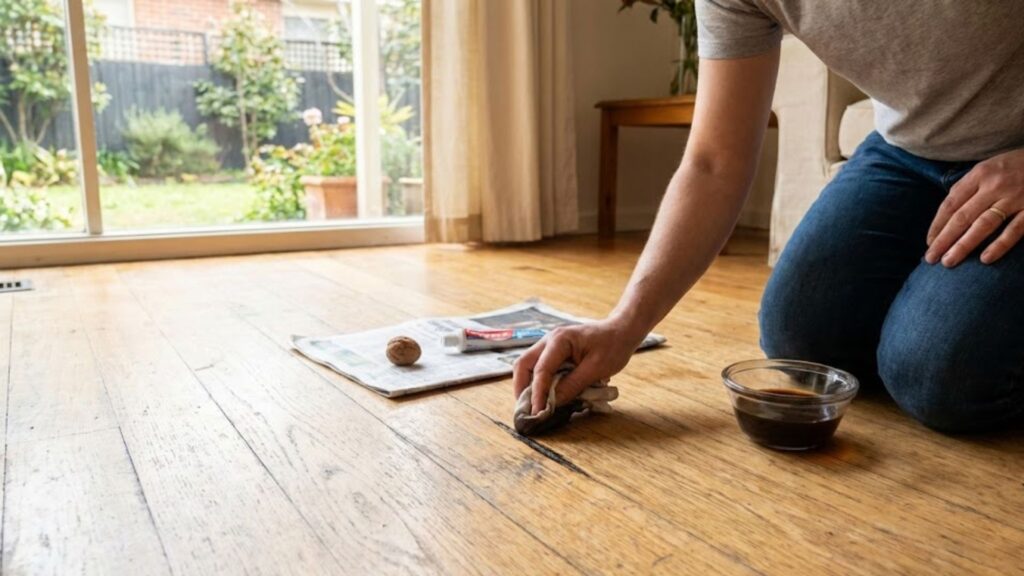
Simple Kitchen Fixes: Walnuts, Tea, and Old-School Solutions
Some of the most effective scratch fixes don’t come from a toolbox—they come from the kitchen. These methods feel old-fashioned, but they work because they nourish and tint the wood gently.
Rubbing the meat of a walnut over a light scratch releases natural oils into the dry fibers. The wood darkens slightly, the harsh white line fades, and the surface looks calmer. After buffing with a cloth, many shallow scratches become barely noticeable.
For darker floors, brewed black tea acts like a mild stain. Dip a cotton swab into cooled tea and dab it onto the scratch. Let it sit briefly, then wipe away the excess. Repeat until the color blends. These methods don’t erase damage; they soften it, allowing the scratch to merge into the natural variation of the wood.
Deep Scratches and Gouges: When Real Repair Is Needed
Some scratches go beyond surface fixes. Gouges, pale cuts, and deep grooves won’t respond to oils or color alone. These require rebuilding what was lost.
Begin with thorough cleaning and allow the wood to dry completely. Then choose a wood filler or wax stick that closely matches the floor’s tone. Color selection matters—wood carries layers of warmth and undertone, not just “brown.”

Press the filler firmly into the scratch using a plastic scraper or old card. Remove excess material so it sits flush with the surface. Once dry, lightly buff. If the floor has a sheen, apply a thin layer of matching finish to restore consistency. The goal isn’t perfection—it’s harmony with the surrounding boards.
Blending the Repair: Matching Light, Grain, and Texture
A scratch becomes noticeable because it interrupts the flow of the floor. Repairing it is about restoring that visual rhythm.
View the area from different angles and under different lighting. If the repair looks too light, deepen it slightly with a marker. If it’s too dark, soften it gently with very fine steel wool. Always follow the grain.
You can even mimic grain lines with a blending pencil, drawing faint streaks to match the board’s natural pattern. Step away and return with fresh eyes. Most repairs improve simply by giving them time to settle and letting your perception reset.
Buffing and Polishing: Helping the Repair Disappear Naturally
Once a scratch is fixed, a light overall polish helps it blend seamlessly into the floor. This doesn’t require heavy machinery—just a microfiber mop and a wood-safe polish.
Apply a thin, even layer, working with the grain. The floor regains a soft, natural glow rather than an artificial shine. As the entire surface refreshes, individual repairs fade into the background, becoming part of a cared-for whole instead of isolated flaws.
Daily Habits That Prevent New Scratches
Prevention doesn’t mean restriction. It means small, thoughtful habits that protect the floor without changing how you live.
Use felt pads under furniture legs, place rugs in high-traffic areas, remove heavy shoes at the door, and sweep regularly to remove grit. These simple actions reduce wear quietly, allowing the floor to age gracefully rather than abruptly.
| Scratch Category | How It Appears or Feels | Recommended Easy Repair |
|---|---|---|
| Light surface scuffs | Hard to notice unless under bright light, fingernail slides smoothly | Wipe the area clean, then apply wood polish, a walnut rub, or a gentle floor refresher |
| Minor white or grey lines | Thin visible scratch, fingernail slightly catches | Clean thoroughly, use a matching wood marker or wax crayon, then buff to blend |
| Deep scratches or gouges | Obvious indentation, rough feel, nail catches firmly | Clean the spot, fill with wood filler or wax stick, color-match, and seal if required |
| Dull high-traffic wear | Finish looks faded or scuffed, no deep cuts | Clean well, lightly buff the surface, then apply a floor polish or rejuvenating product |
| Concentrated deep damage | Several scratches grouped together, uneven and rough texture | Spot sand and refinish the area, or seek professional repair for a seamless result |
Living With a Floor That Carries Your Story
Over time, a wooden floor becomes more than a surface. It records movement, memory, and daily life. Repairing scratches isn’t about erasing those moments—it’s about choosing which marks remain and which ones soften into the background.
With patience, simple tools, and attention, you learn that wood is resilient. Each repair strengthens your connection to the space you live in. You’re not just fixing scratches—you’re maintaining the quiet foundation that supports everyday life, step after step.