
The first moment you see your eyebrows thinning can feel startling. Perhaps it’s in the bathroom mirror under harsh morning light or in a selfie where your eyes seem less defined. The outer edges appear sparse, and the arch may vanish from certain angles. No pencil or powder seems to restore them. That’s when the thought of a professional brow lamination comes to mind. But then the hassle of appointments, travel, costs, and strong chemical smells can make you reconsider. You close the browser, wash your face, and start thinking there must be a simpler way.
Simple Lamination Techniques
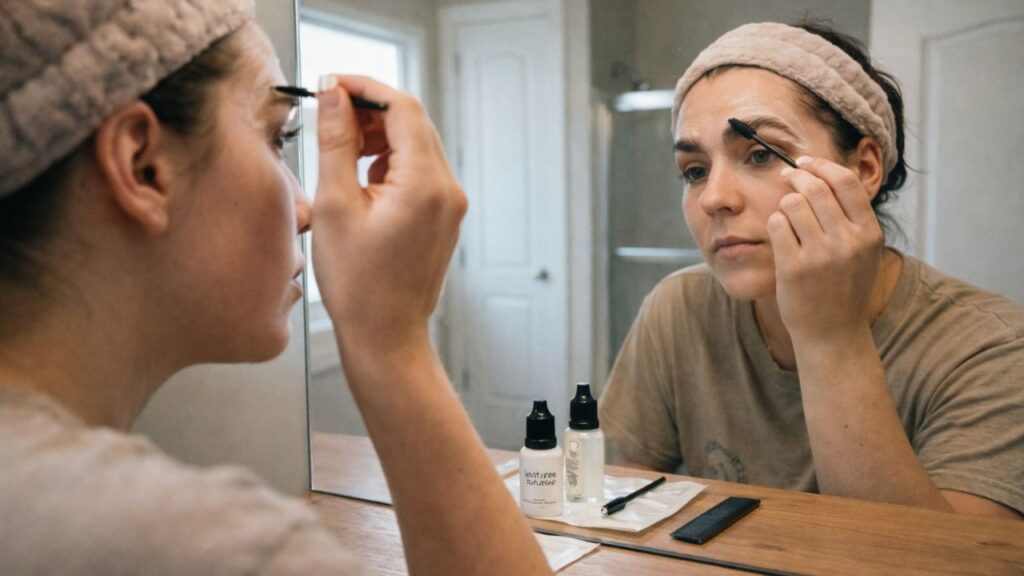
The Quiet Satisfaction of DIY Brows
There’s a unique joy in sitting at your bathroom counter at night, the fan humming and your favorite playlist in the background, knowing you can enhance your brows with patience and care. No glaring salon lights. No small talk. Just a mirror, a tiny brush, and you. Home brow lamination is far less technical than it sounds. Essentially, it’s about gently guiding your natural brow hairs to lie in your desired direction, creating a fuller and more defined appearance. You’re not drawing a new shape—you’re allowing your natural brows to shine. The key is to remove intimidation. At home, lamination reduces to a few simple steps: soften, shape, set, and nourish. Once you grasp this pattern, the process becomes a simple routine rather than a complicated experiment.

Gathering Your Tools: A Calm Preparation
Before starting, prepare your workspace like a mini ritual. Clear your counter, remove any clutter, and arrange tools in the order you’ll use them. This small act of organization creates a calm, focused atmosphere. Most home lamination methods need only a few essentials. Some prefer complete kits, while others use gentle alternatives like mild lash lift solutions or soft-setting hair formulas safe near the eyes. The principle is the same: use minimal, gentle products.

- Soft Facial Cleanser: Removes oil and makeup; choose a mild, soap-free option for sensitive skin.
- Brow Spoolie: Aligns and shapes hairs; a clean mascara wand works well too.
- Brow Lamination Formula: Softens hairs for reshaping; always patch test 24 hours before use.
- Fixing or Setting Solution: Locks brows in place; apply lightly to avoid weighing hairs down.
- Hydrating Oil or Serum: Nourishes hair and skin; apply castor oil or a light serum overnight.
With these tools, the process feels less like a major procedure and more like a mindful grooming ritual. You’re learning how your brows naturally grow and carefully shaping them into a look that makes you happy.
Step by Step: A Calm Brow Transformation
When attempting home lamination for the first time, move slowly and mindfully. Notice the water running, the cool touch of your fingers, and the gentle brushing sensation as your spoolie combs through your hairs. This is as much about relaxation as it is about results.
Clean Your Canvas
Brows gather oils, sunscreen, makeup residue, and environmental particles. Start with a gentle, fragrance-free cleanser and rinse with lukewarm water. Pat dry with a soft towel, and use a cotton pad to ensure no residue remains. Clean brows naturally stand upright, ready for shaping.
Observe Your Brow Growth
Before applying any product, examine your eyebrows with a clean spoolie. Notice which hairs stand up, lie flat, or extend outward. Check for gaps and assess the tail and arch. Understanding your natural pattern informs your shaping process.
Soften Hairs with Lamination Solution
Apply a small amount of lamination or lifting solution with a micro brush or cotton swab, keeping it on the hair and away from skin. This step loosens the hairs, similar to softening clay before molding. Comb the solution gently through your brows in the direction you want them to lie. Allow the product to work for the recommended time, usually a few minutes, using less time for fine or delicate hairs.

Shape with Intention
After the solution has processed, use a clean spoolie to brush the front hairs upward for fullness, and angle the arch and tail toward your temples. Focus on intention over perfection. Symmetry is nice, but brows are naturally unique—one may have a slightly sharper arch or fuller front. Aim for an enhanced version of your natural shape rather than copying someone else’s style.
Set the Shape
Remove excess solution and apply a small amount of setting or neutralizing product. Comb through again and press any stubborn hairs into place for a few seconds. Once set, wipe off leftover product and admire the results: your natural brows appear fuller, taller, and more defined.
Aftercare: Let Brows Settle
Freshly laminated brows feel noticeable, like a new haircut. Allow 1–2 days for your skin’s oils to return and hairs to soften naturally. Avoid soaking the area, heavy creams, saunas, or steamy showers. A light moisturizer around, but not on, the brow line is fine. By day three, your morning routine often becomes effortless: a simple brush through is enough to maintain the lifted, full look.
Nourish and Maintain
Treat your brows like a small garden. After cleansing each night, massage a small amount of nourishing oil into the hairs following their natural growth direction. Castor oil or lightweight brow serums work well. Gentle massage boosts conditioning and stimulates follicles. Avoid over-plucking—maintain only a light boundary to preserve natural fullness and thickness.
Finding Your Brow Rhythm at Home
Over time, you’ll discover your own lamination rhythm. Some schedule full sessions every 6–8 weeks, syncing with self-care rituals; others use milder daily or weekly methods with emphasis on nourishing oil and gentle brushing. Brows have their own growth cycles. Notice new hairs, fullness shifts, or drooping, and adjust your routine accordingly. Home lamination allows you to learn your face’s unique needs, products it tolerates, and ideal timing, making you the quiet expert of your own brows.