
At-home eyebrow tinting has quickly become a popular beauty routine for those who want polished brows without frequent salon visits, especially in India where DIY grooming is on the rise. With the right approach, you can enhance your natural brows safely and affordably from the comfort of home. This method focuses on achieving soft, defined results rather than harsh or overly dark brows. By following a simple step-by-step process and using beginner-friendly products, even first-timers can gain confidence and control while creating a neat, well-groomed eyebrow look.
At-home eyebrow tinting basics for beginners
Understanding the basics is the first step to successful at-home eyebrow tinting. Choosing a shade close to your natural brow color helps avoid dramatic mistakes and supports a natural brow tone. Always perform a patch test to reduce the risk of irritation and ensure skin safety first. Clean brows free of oil or makeup allow the tint to adhere evenly, resulting in smoother color payoff. Using minimal product and following timing instructions closely prevents over-darkening, which is key for soft everyday brows. These foundational steps help beginners feel more comfortable before moving on to application.
 Goodbye Hair Dye for Grey Hair: What to Add to Your Conditioner for Natural Colour Revival
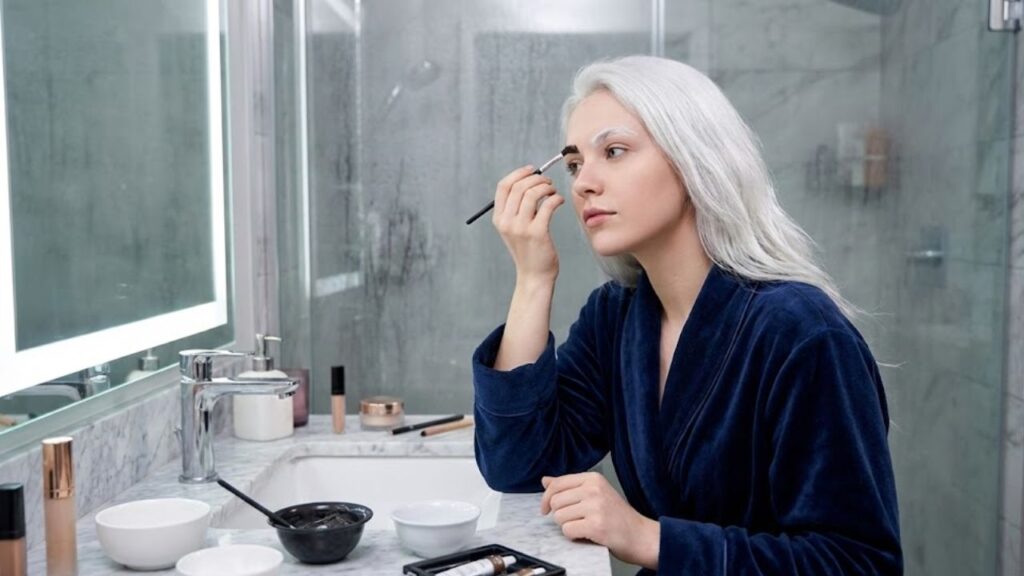
Step-by-step eyebrow tinting method at home
A clear method makes the process less intimidating. Start by outlining your brows with petroleum jelly to protect surrounding skin and create clean brow edges. Mix the tint as directed and apply using a small angled brush for controlled application. Work from the tail toward the front, allowing lighter coverage near the inner brow for balanced brow depth. Set a timer and monitor color development closely to avoid staining. Once time is up, gently wipe off with a damp cotton pad to reveal even tinted brows that still look natural.

Maintaining soft defined brows after tinting
Proper aftercare ensures your tint lasts longer and fades evenly. Avoid washing your face for at least 12 hours to allow the pigment to settle, supporting longer lasting tint. Use gentle, sulfate-free cleansers around the brow area to maintain color retention care. Applying a light brow oil or serum helps nourish hair and promotes healthy brow growth. Touch-ups should be spaced out to prevent dryness or damage, keeping your look consistent with low maintenance grooming routines that suit busy lifestyles.
Summary and practical takeaways
At-home eyebrow tinting is a practical option for anyone seeking defined brows without salon dependency. When done correctly, it offers cost effective beauty benefits while allowing full control over shade and intensity. The key lies in preparation, patience, and following instructions carefully to avoid common errors. By focusing on subtle enhancement rather than dramatic change, you can achieve polished daily brows that complement your face. With regular care and mindful touch-ups, this simple routine can become a reliable part of your personal grooming routine.
| Aspect | Recommended Practice | Benefit |
|---|---|---|
| Shade selection | Match natural brow color | Soft, realistic finish |
| Patch testing | 24 hours before use | Reduced irritation risk |
| Application time | 5–10 minutes | Controlled color depth |
| Aftercare | Avoid water for 12 hours | Longer-lasting results |
| Maintenance | Retint every 3–4 weeks | Consistent brow look |
Frequently Asked Questions (FAQs)
1. Is at-home eyebrow tinting safe?
Yes, when you follow instructions carefully and perform a patch test beforehand.

2. How long does eyebrow tint usually last?
Most tints last between two to four weeks depending on skin type and care.
3. Can beginners try eyebrow tinting at home?
Absolutely, beginner kits and simple methods make it suitable for first-timers.
4. What should I do if my brows turn too dark?
Gently cleanse the area and allow a few days for the color to naturally fade.
